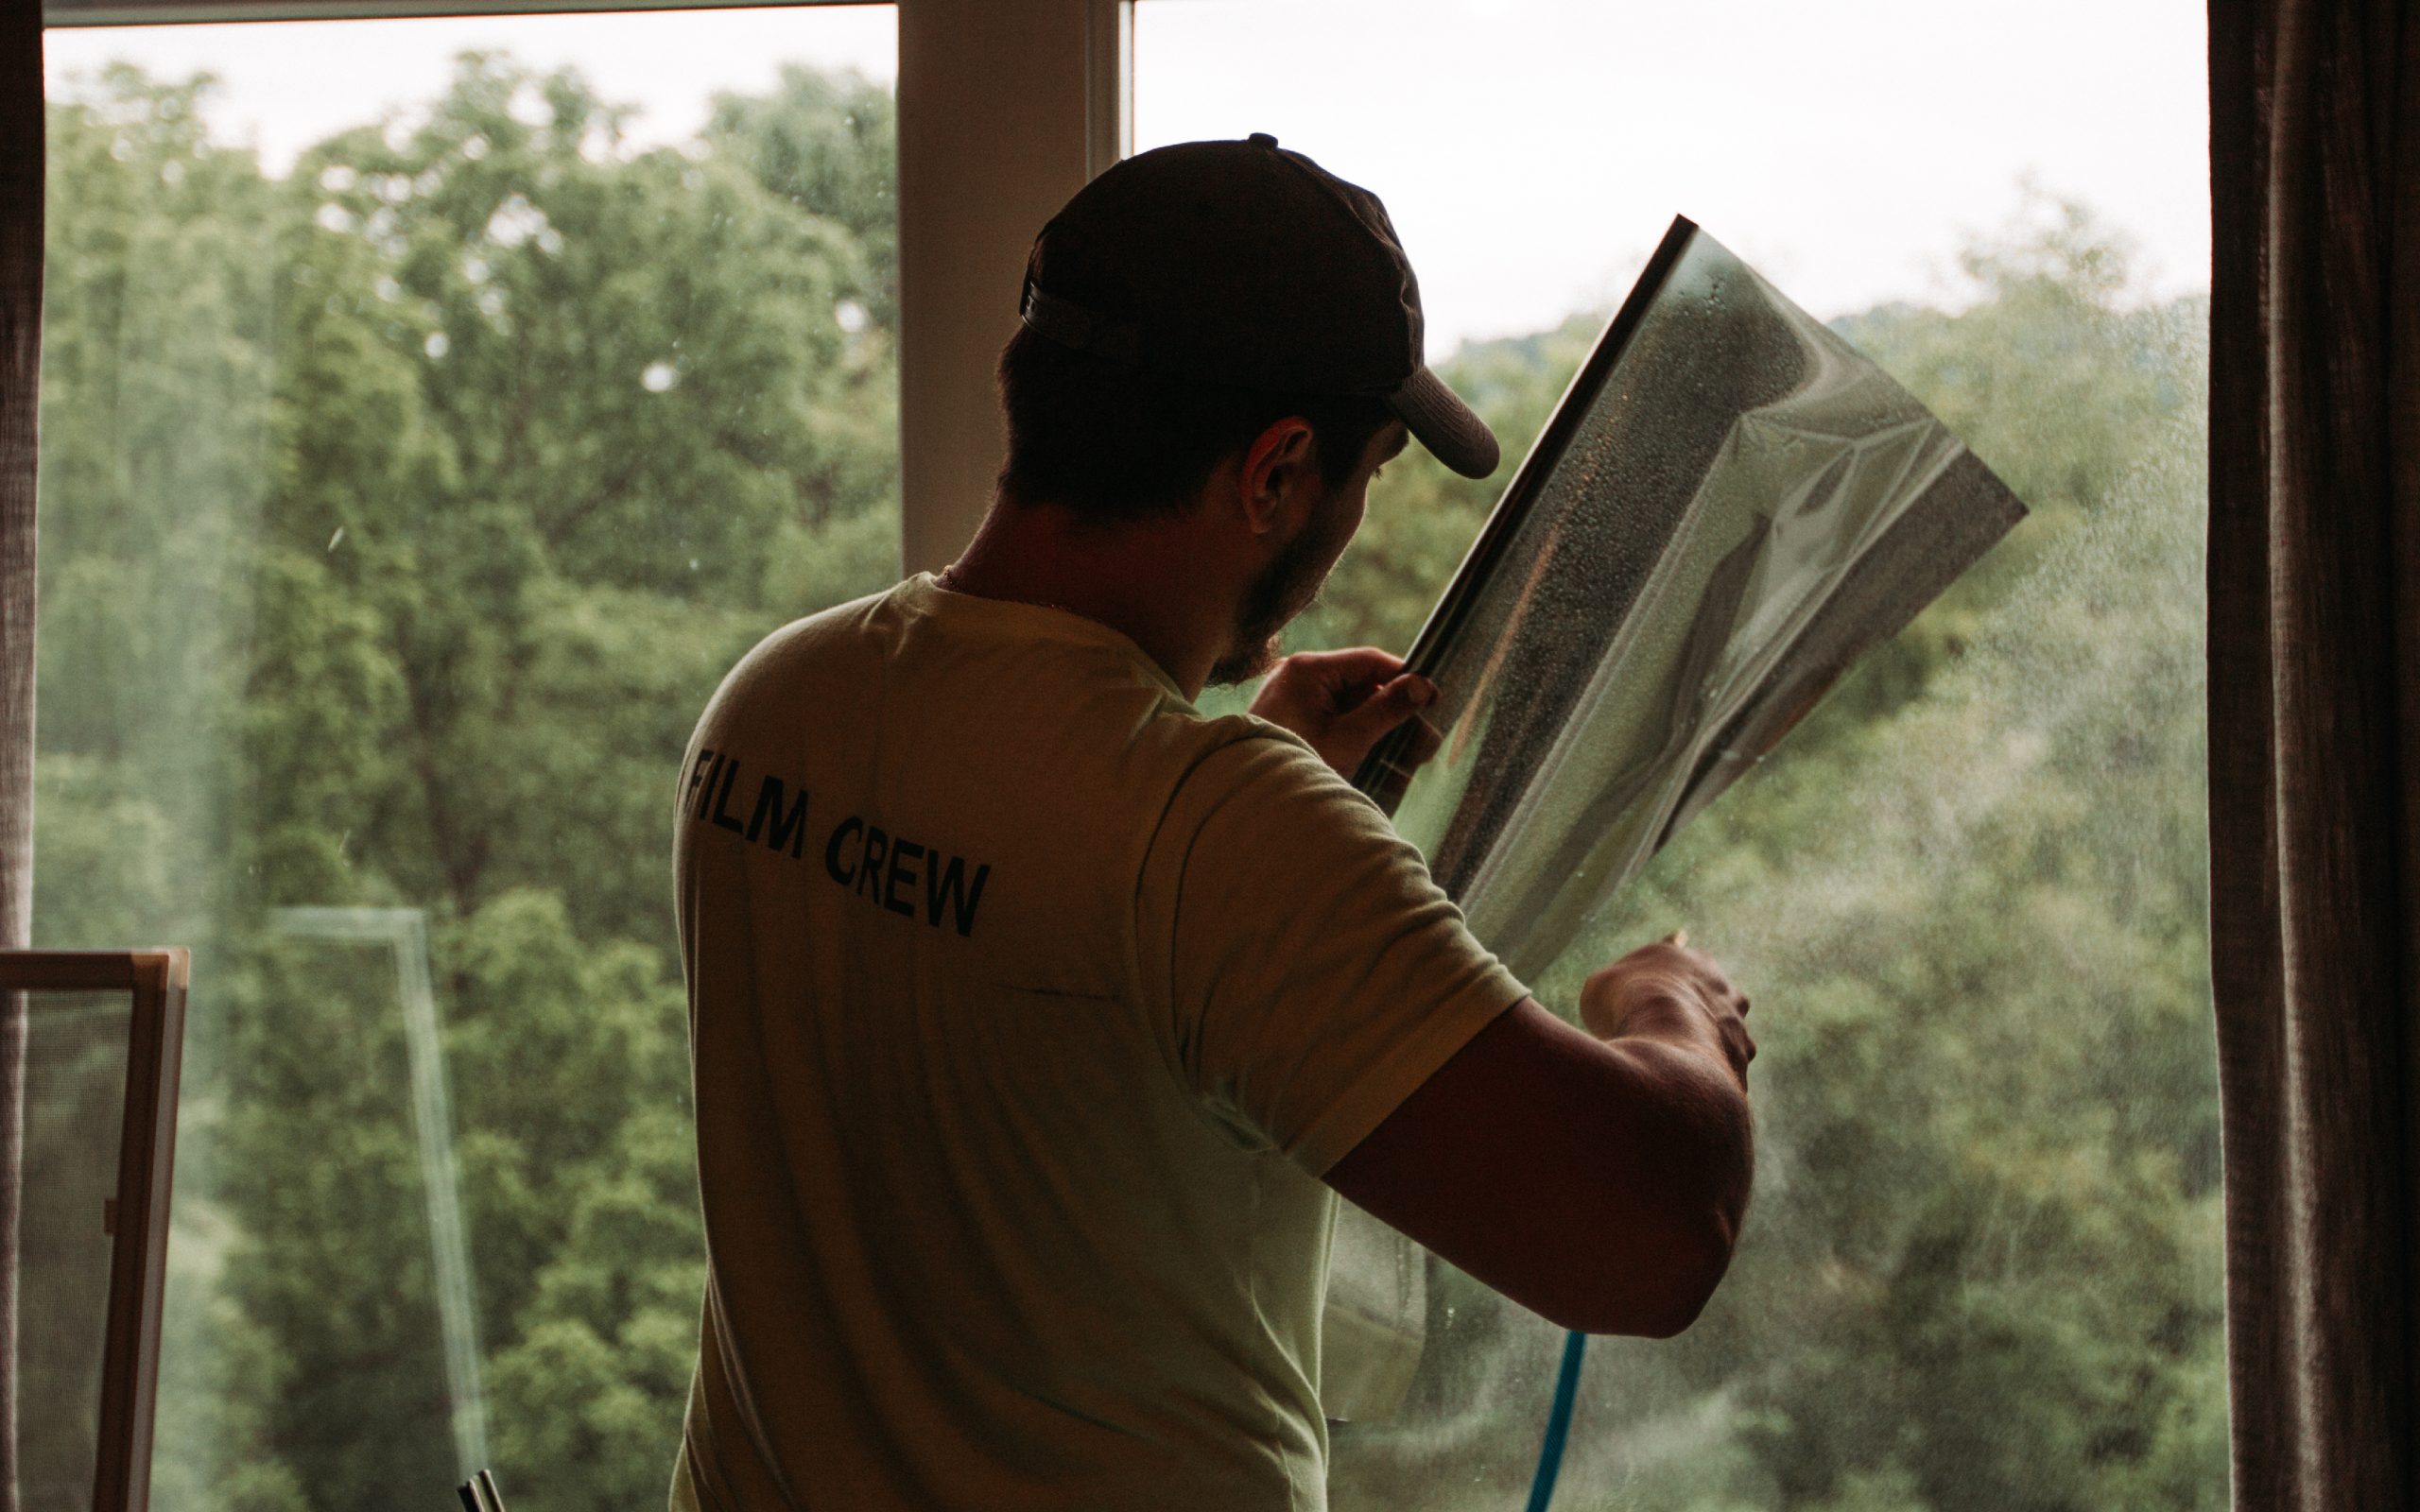
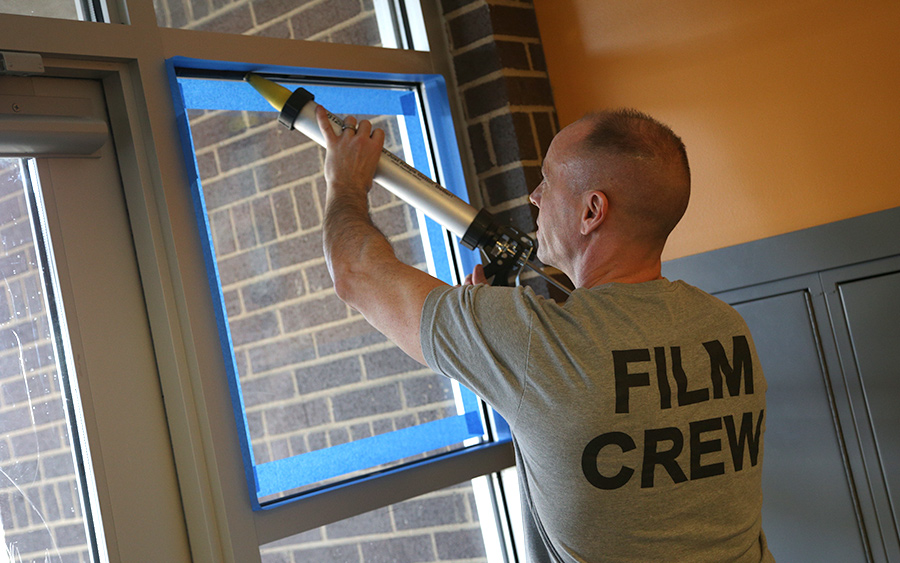
U.S. FILM CREW
Window Film Blog
Your Trusted Window Film Resource From Pittsburgh’s Experts
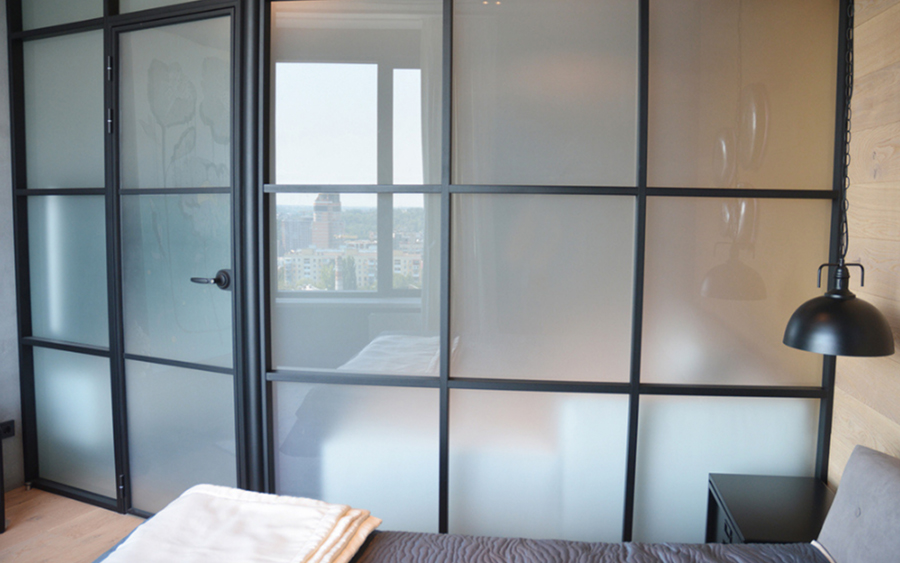
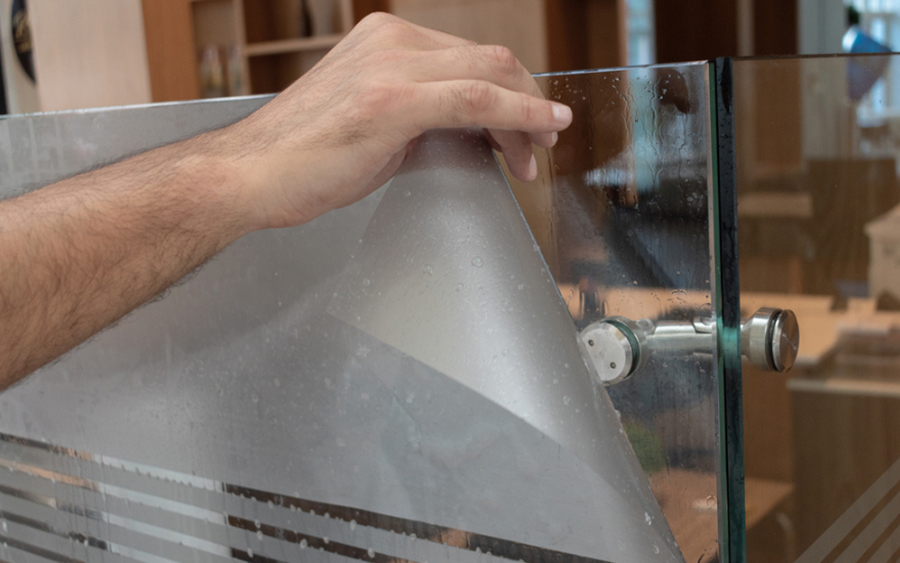
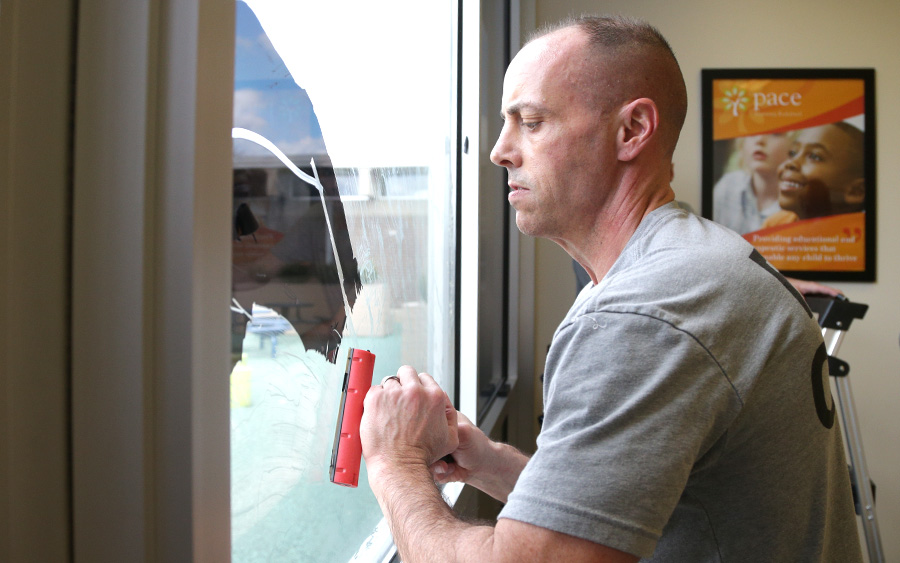
Here you will find helpful information and topics related to protection, privacy, or decorative window solutions for your home or business. Consider this your go-to resource for all aspects of window film products and installation.

Recent Posts
Read the latest updates and articles from the world of window film here in our most recent blog posts.

Jun
15
2026
Residential, Solar
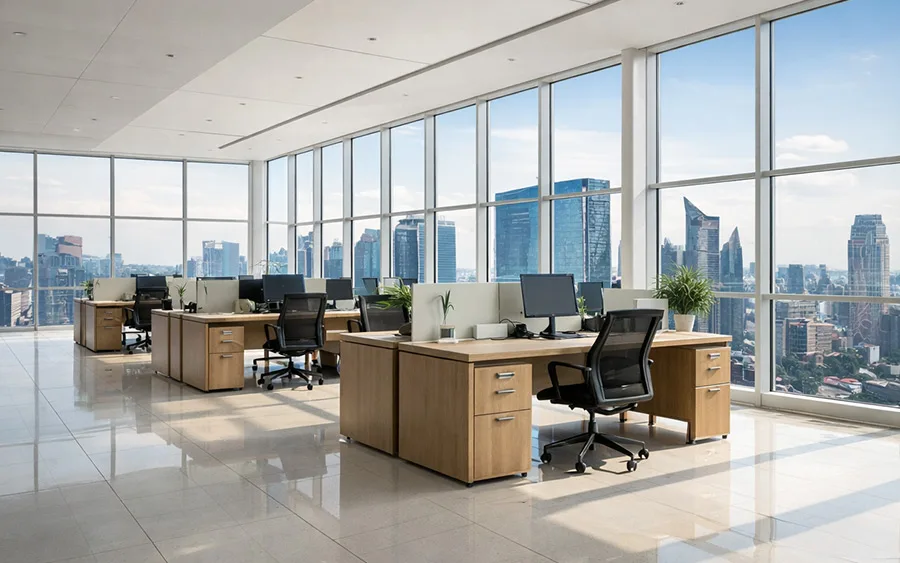
Reduce Home Office Glare with Residential Solar Window Film
Jun
08
2026
Commercial, Residential, Solar
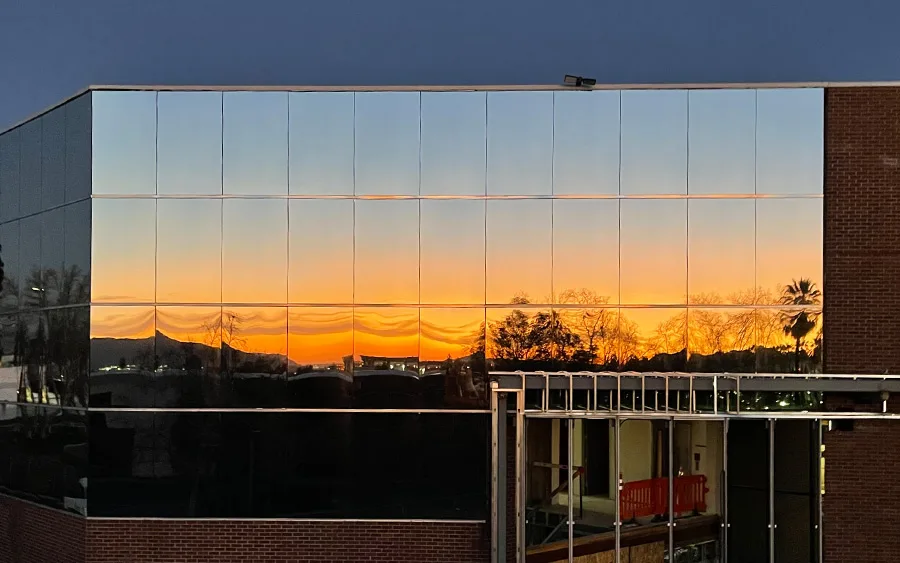
Solar Film ROI: Is Heat Reflective Window Film Worth It?

Jun
01
2026
Residential, Solar
Window Film for Your Pittsburgh Home: Reduce Heat, Glare & Fading While Improving Privacy

May
25
2026
Commercial, Security
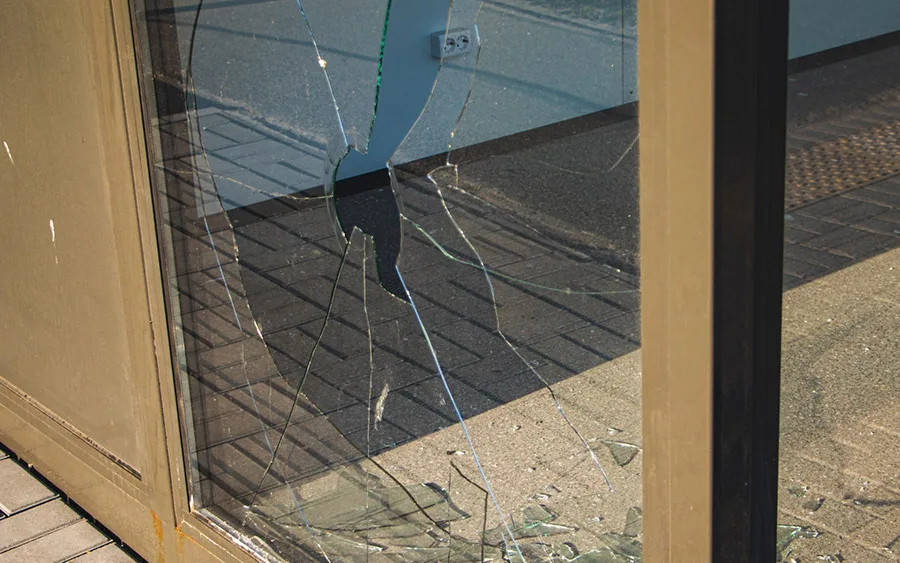
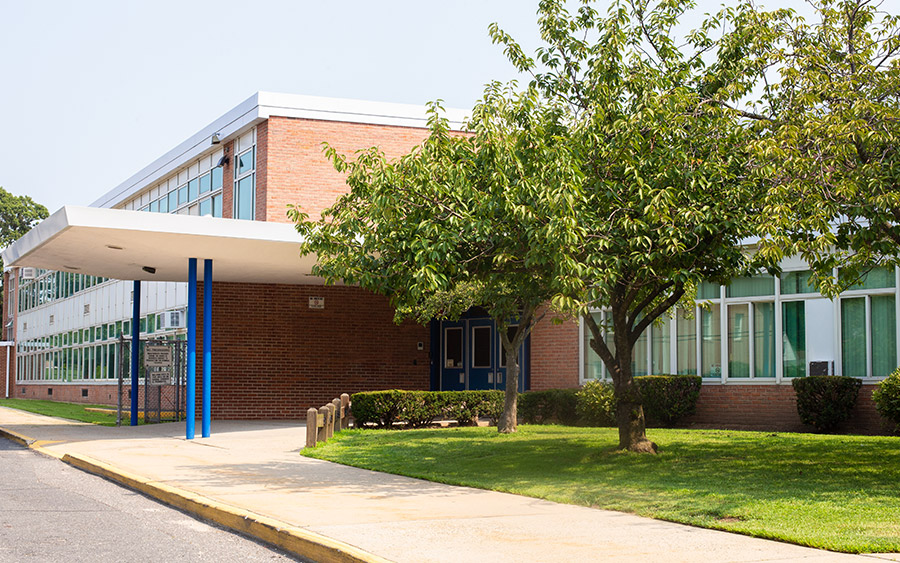
Commercial Window Security Film: Why Summer Is the Smart Time for School Upgrades

May
18
2026
Residential, Solar
Energy Saving Window Film: A Smarter Way to Improve Comfort and Efficiency

May
12
2026
Residential, Solar
Why Your Furniture is Fading and How to Protect It
Read More
Explore our vast catalog of blogs, articles, and whitepaper publications on all topics regarding window film.
All
Commercial
Residential
Security
Solar
General
Case Studies
Decorative
Specialty
Surface Protection
Installation
Technology
Custom
Jun 1, 2026
Window Film for Your Pittsburgh Home: Reduce Heat, Glare & Fading While Improving Privacy
May 25, 2026
Commercial Window Security Film: Why Summer Is the Smart Time for School Upgrades

Apr 27, 2026
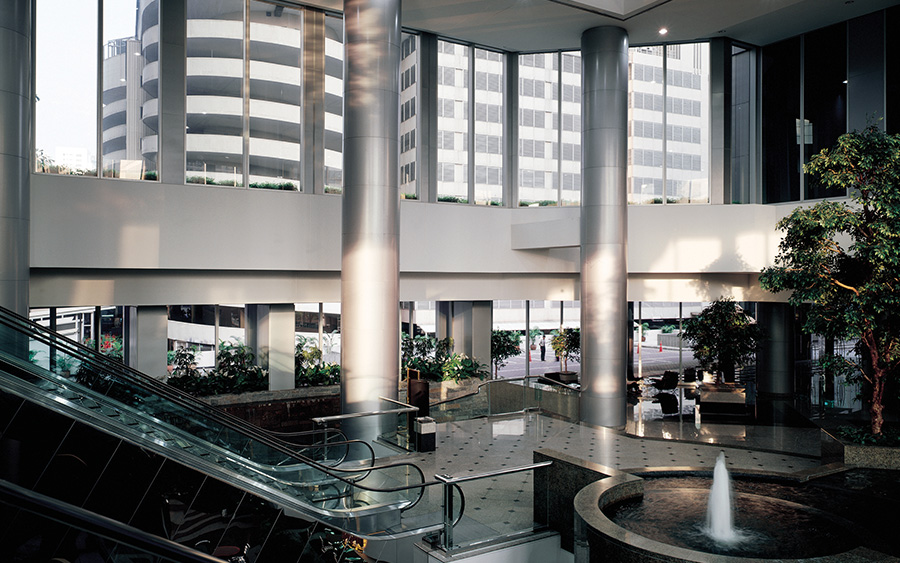
Tenant Comfort Improvements: How Commercial Solar Window Film Helps Attract and Retain Tenants


Mar 30, 2026
Commercial Security Window Film: Protecting People, Storefronts, and Property


Mar 2, 2026
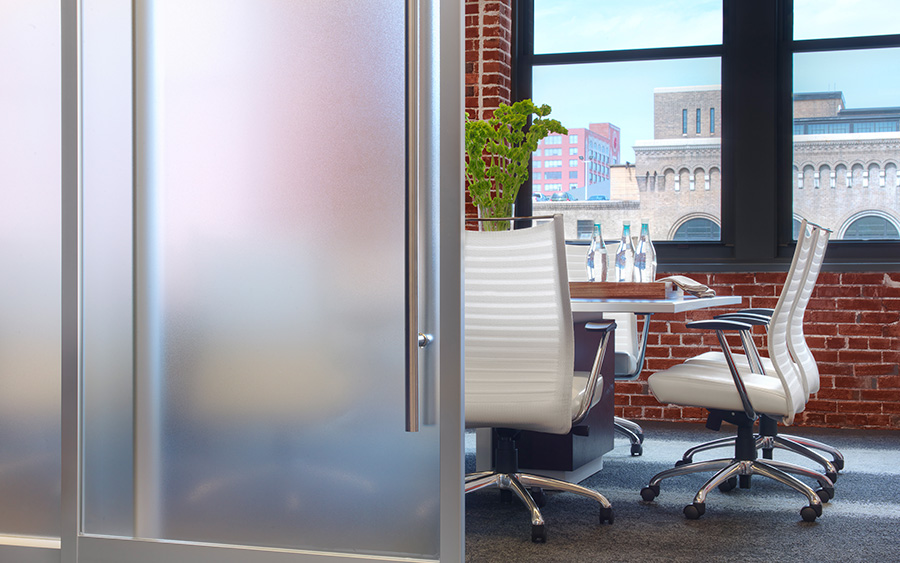
Stop Feeling Like You Live in a Fishbowl: Choosing the Right Privacy Film for Your Home


Feb 9, 2026
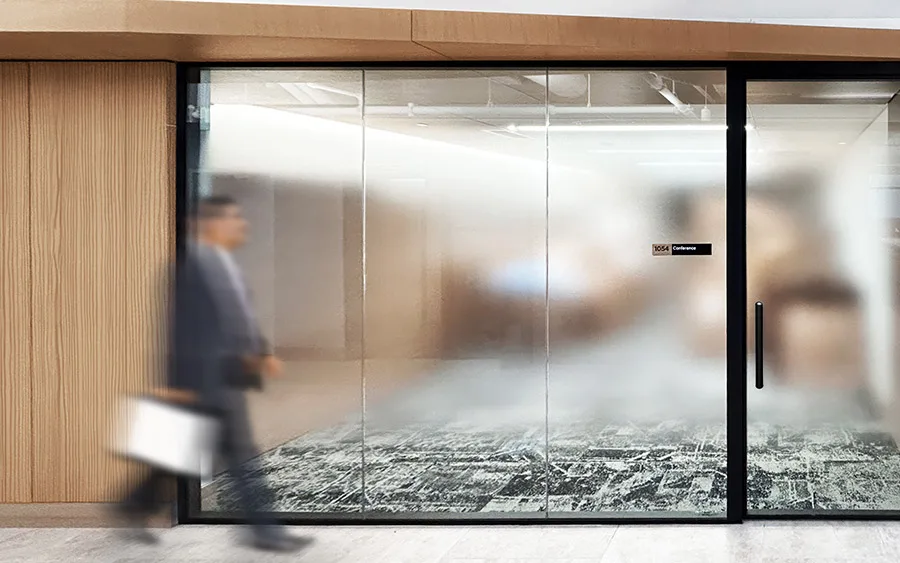
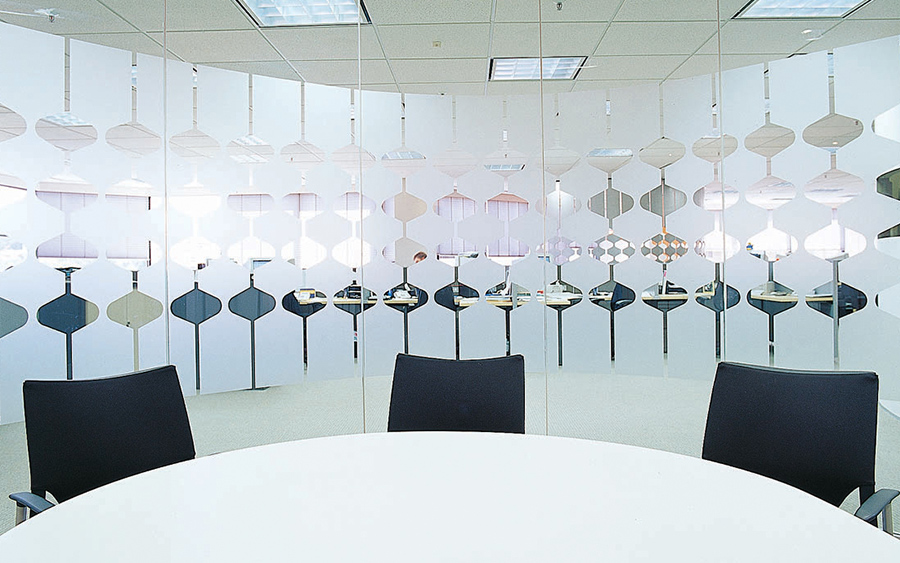
Office Window Decorative Privacy Film: The Smart Way to Balance Privacy and Design

Jan 19, 2026
Window Film Glare Control: How to Reduce Eye Strain and Improve Comfort Indoors
Jan 12, 2026
Security Window Film 101: What It Does, How It Works, Where It Fits In Your Security Plan


Dec 30, 2022
How Pittsburgh Window Film Solutions Can Help Interior Designers Create Homely Spaces


Nov 10, 2022
5 Reasons to Install Tinted Security Window Film in Your Shop Before Black Friday


Jul 20, 2022
Why You Should Consider Getting an Energy Analysis From a Professional Window Tinting Service

Jul 13, 2022
Residential Window Tinting in Pittsburgh: How Window Film Can Help You Reduce Your Carbon Footprint

Jun 29, 2022
How Does Window Safety Film Installation Make Your Space Safer and More Energy-Efficient?


Jun 1, 2022
5 Things You Should Consider Before Window Safety Film Installation for Your Home


Feb 2, 2022
Glare in Your Workspace? Here’s How to Get Rid of It with Window Film Solutions


Jun 10, 2020
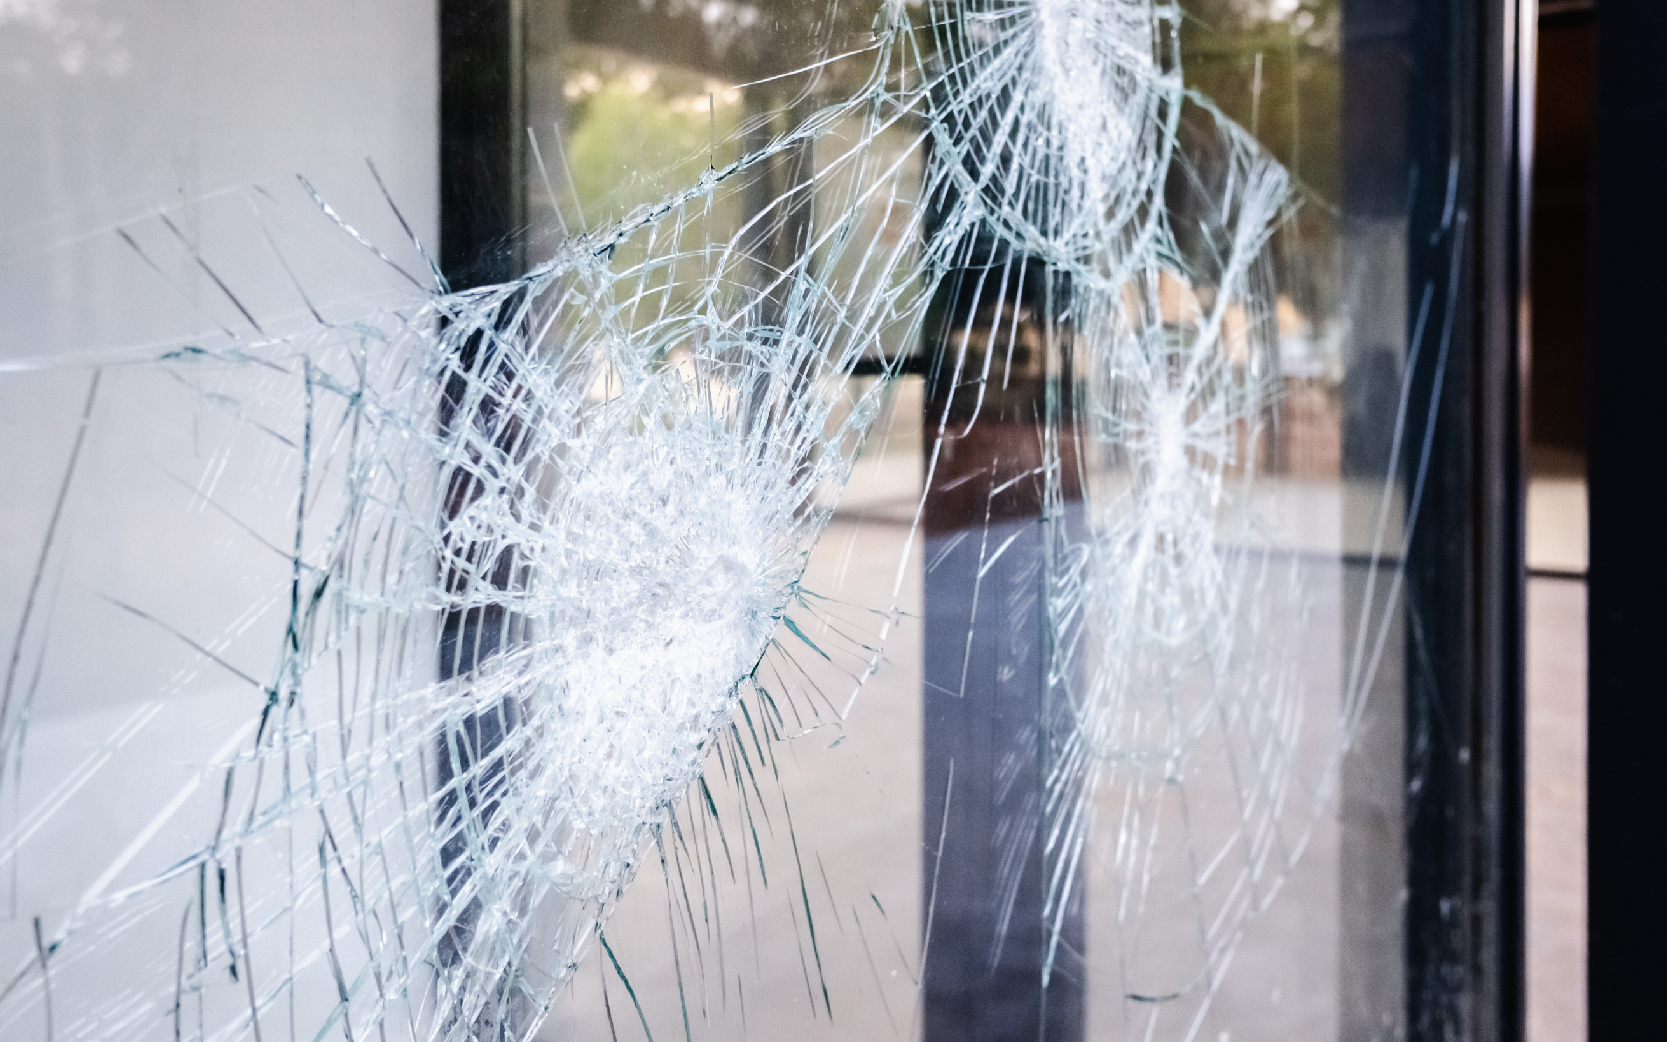
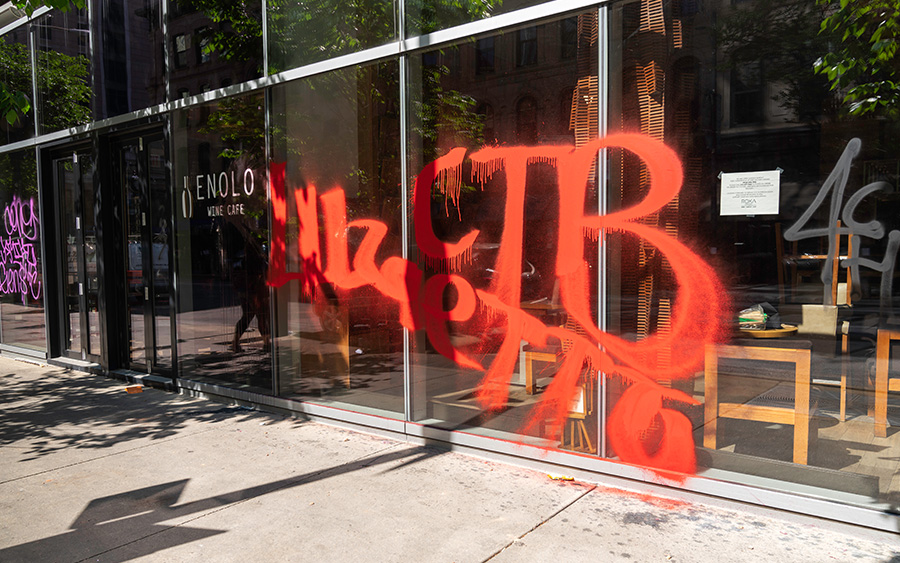
Why Businesses Should Consider Glass Protection Film in Light of the Recent Protests

May 19, 2020
May is Skin Cancer Awareness Month: Protect Your Skin with the Industry’s Best Window Film

Apr 13, 2020
Top Reasons to Use Casper Cloaking Window Film for Your Pittsburgh Office Renovation


Dec 30, 2019
U.S. Film Crew Partners with New York Window Film Company for Midtown Manhattan Project


Load More
May 25, 2026
Commercial Window Security Film: Why Summer Is the Smart Time for School Upgrades
Apr 27, 2026
Tenant Comfort Improvements: How Commercial Solar Window Film Helps Attract and Retain Tenants
Mar 30, 2026
Commercial Security Window Film: Protecting People, Storefronts, and Property
Feb 9, 2026
Office Window Decorative Privacy Film: The Smart Way to Balance Privacy and Design
Jan 19, 2026
Window Film Glare Control: How to Reduce Eye Strain and Improve Comfort Indoors
Jan 12, 2026
Security Window Film 101: What It Does, How It Works, Where It Fits In Your Security Plan
Nov 10, 2022
5 Reasons to Install Tinted Security Window Film in Your Shop Before Black Friday
Jul 20, 2022
Why You Should Consider Getting an Energy Analysis From a Professional Window Tinting Service
Jun 29, 2022
How Does Window Safety Film Installation Make Your Space Safer and More Energy-Efficient?
Feb 2, 2022
Glare in Your Workspace? Here’s How to Get Rid of It with Window Film Solutions
Jun 10, 2020
Why Businesses Should Consider Glass Protection Film in Light of the Recent Protests
May 19, 2020
May is Skin Cancer Awareness Month: Protect Your Skin with the Industry’s Best Window Film
Apr 13, 2020
Top Reasons to Use Casper Cloaking Window Film for Your Pittsburgh Office Renovation
Load More
Jun 1, 2026
Window Film for Your Pittsburgh Home: Reduce Heat, Glare & Fading While Improving Privacy
Mar 2, 2026
Stop Feeling Like You Live in a Fishbowl: Choosing the Right Privacy Film for Your Home
Dec 30, 2022
How Pittsburgh Window Film Solutions Can Help Interior Designers Create Homely Spaces
Jul 20, 2022
Why You Should Consider Getting an Energy Analysis From a Professional Window Tinting Service
Jul 13, 2022
Residential Window Tinting in Pittsburgh: How Window Film Can Help You Reduce Your Carbon Footprint
Jun 1, 2022
5 Things You Should Consider Before Window Safety Film Installation for Your Home
May 19, 2020
May is Skin Cancer Awareness Month: Protect Your Skin with the Industry’s Best Window Film
Load More
May 25, 2026
Commercial Window Security Film: Why Summer Is the Smart Time for School Upgrades
Jan 12, 2026
Security Window Film 101: What It Does, How It Works, Where It Fits In Your Security Plan
Nov 10, 2022
5 Reasons to Install Tinted Security Window Film in Your Shop Before Black Friday
Jun 29, 2022
How Does Window Safety Film Installation Make Your Space Safer and More Energy-Efficient?
Jun 1, 2022
5 Things You Should Consider Before Window Safety Film Installation for Your Home
Jun 10, 2020
Why Businesses Should Consider Glass Protection Film in Light of the Recent Protests
Load More
Jun 1, 2026
Window Film for Your Pittsburgh Home: Reduce Heat, Glare & Fading While Improving Privacy
Apr 27, 2026
Tenant Comfort Improvements: How Commercial Solar Window Film Helps Attract and Retain Tenants
Mar 2, 2026
Stop Feeling Like You Live in a Fishbowl: Choosing the Right Privacy Film for Your Home
Jan 19, 2026
Window Film Glare Control: How to Reduce Eye Strain and Improve Comfort Indoors
Jun 29, 2022
How Does Window Safety Film Installation Make Your Space Safer and More Energy-Efficient?
Load More
Dec 30, 2019
U.S. Film Crew Partners with New York Window Film Company for Midtown Manhattan Project
Feb 9, 2026
Office Window Decorative Privacy Film: The Smart Way to Balance Privacy and Design
Load More
Load More
Feb 2, 2022
Glare in Your Workspace? Here’s How to Get Rid of It with Window Film Solutions
Load More

Still Looking for Answers?
Are you having trouble finding the answers you need about a product or installation? Contact Pittsburgh’s window film experts today. We’re happy to answer your questions.
Elevate Your Glass
Ready to give your windows new life? Contact Greater Pittsburgh’s most trusted provider for a personalized quote today.