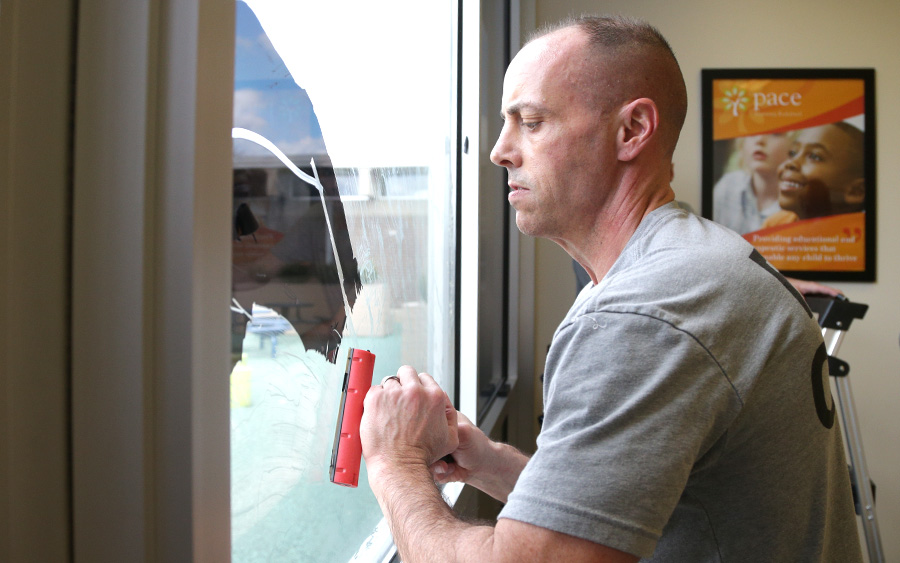
Without a doubt, installing window film is a great idea that comes with many benefits, such as offering much-needed privacy, cutting down utility bills and protecting window glass from shattering.
Like all good things, however, even window films have an expiry date, and they’ll eventually need replacement. When these products become too worn out and show signs of damage, they become more of an eyesore than a utility.
While these steps are relatively straightforward, this process can become tedious, messy, and could take a while. If this DIY project is not up in your corner, feel free to contact the experts.
However, the upside to installing window films is that you can remove them quickly without a trace. Here is a guide to help you remove window films and uncover your crystal clear windows.
Understand the type of window film you are working with
Using the appropriate method to remove window film will depend mostly on the type of window being treated. Window films found in commercial buildings like stores and restaurants would have a unique adhesive on them, requiring a particular formula or spray to take off the film.
Depending on the thickness and the material your window film is made up of, you can choose one of the following methods.
Get all the necessary tools for the job:
- Solar peel using ammonia
- Hairdryer
- Window scraper
- Stanley knife
- Lint-free towels
- Black plastic trash bags
Method 1: Solar Peel Method
First, you will need to prepare a soapy solution with warm water that can be sprayed unto the window.
Next, cut out large pieces of the plastic bag and use them to cover both sides of the window. Once these are firmly in place, you can spray the ammonia solution on the inside of the window.
First, be sure your room has the proper ventilation so that you are not exposed to the effects of inhaling ammonia fumes. You should consider wearing a mask for extra precaution.
Then, make sure to spread this solution evenly. This is so the film’s adhesive will break down more effectively.
Allow this to be in the sun for about an hour. Then, what should happen is that the black plastic cover-up will trap heat that will loosen the adhesive that holds the window film together.
Next, using a razor blade, pry the corners of your window film and gently lift it off. Clean down the window film for any remaining residue that may be left.
Method 2: Steam Method
Using a steamer, heat your windows, starting from the corner areas, by holding the attachment close enough to the window.
Check to see if your window film is loose enough to remove with your fingernail, after which you should be able to simply peel back the film and wipe down your windows with a paper towel.
Method 3: Soap and scrape
This method does not require a lot of finesse and can be used for removing residential building window films. Keep in mind that this process may be strenuous and long especially if it requires removing film glue.
First, cut the corners of your window film with a Stanley knife or razor blade to create a good enough opening to help peel off the film. After peeling it off, if there are small portions left on your window, repeat the process until enough of the film is off.
Finally, using a spray bottle, remove whatever adhesive is left behind. Then, wipe the glass with a glass cleaner and paper towels to clean your windows until they shine.
A clean getaway
Given the number of windows that require you removing window film from, the level of adhesive seen in existing window film, and your experience in completing the work, this DIY project should not take more than a sunny afternoon to complete.
However, more extensive projects without the proper supplies can lead to a more frustrating experience, in which case it is best to call in the reinforcements.
Speak with a professional window film installer today!


